The restoration of comics has been around in one form or another since the late 1930’s and early 1940’s. In the last 14 years, third-party grading companies have incorporated restoration detection into their examination process in order to determine if any given book has been manipulated from its original printed appearance. However, detection by these companies is not infallible and there have been recent high-profile examples of unrestored books being resubmitted only to come back as restored – a shock (to say the least) to the buyer of a 4 or 5 figure book who made the original purchase in good-faith but ultimately has lost their 4 or 5 figure investment.
This ongoing column hopes to assist in the detection of restoration when purchasing raw books by introducing collectors to the tools of restoration detection and showing examples of the key areas where restoration is most likely to be discovered.
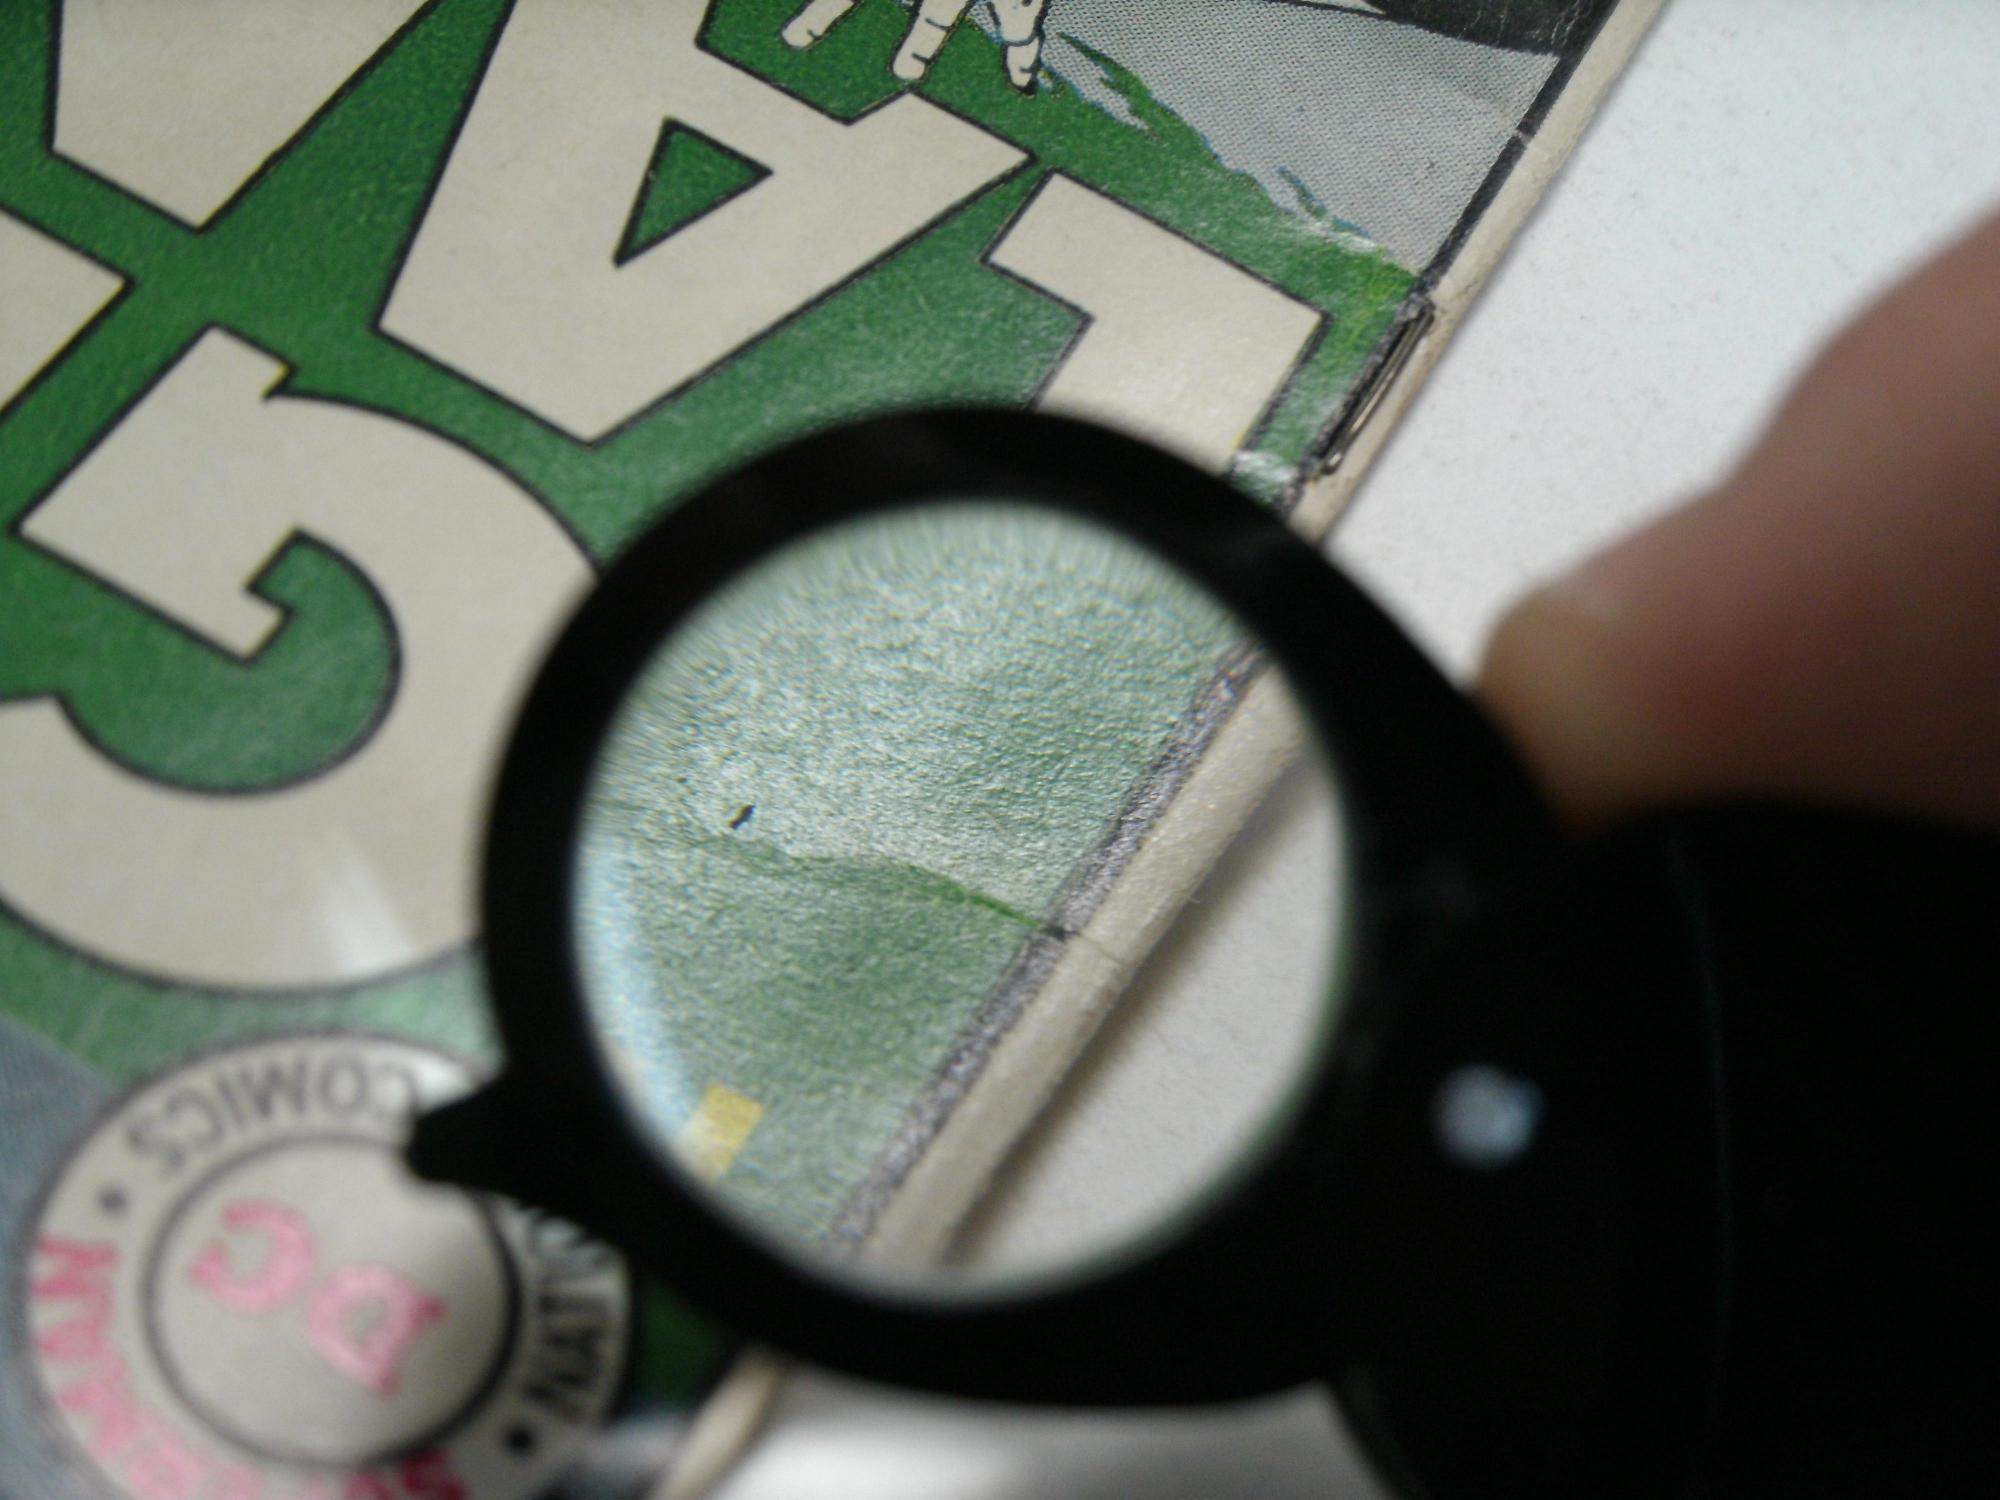
Since any crease or color-break can devalue a book, these are prime areas for someone to try and fix. A typical repair for this type of damage is to try to cover it up with something that looks right – usually pencil crayon or felt marker, but also acrylic paint, water-colors and even ink. Under close examination, usually with a magnifying glass or loupe, areas of “color-touch” become fairly obvious. The area most likely to have this type of restoration are the edges including the spine – where most damage occurs.
Looking closely at a copy of Showcase 22, what looks like a normal crease, upon investigation with a loupe, shows that the creased area is actually less glossy than the rest of the book (appearing matte in finish) and the green is darker than the printed green of the original book.
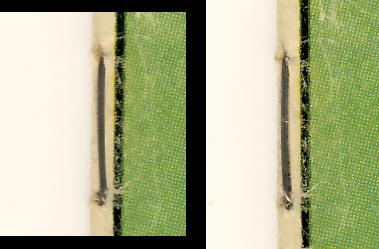
Even without the loupe, the repaired area appears different:
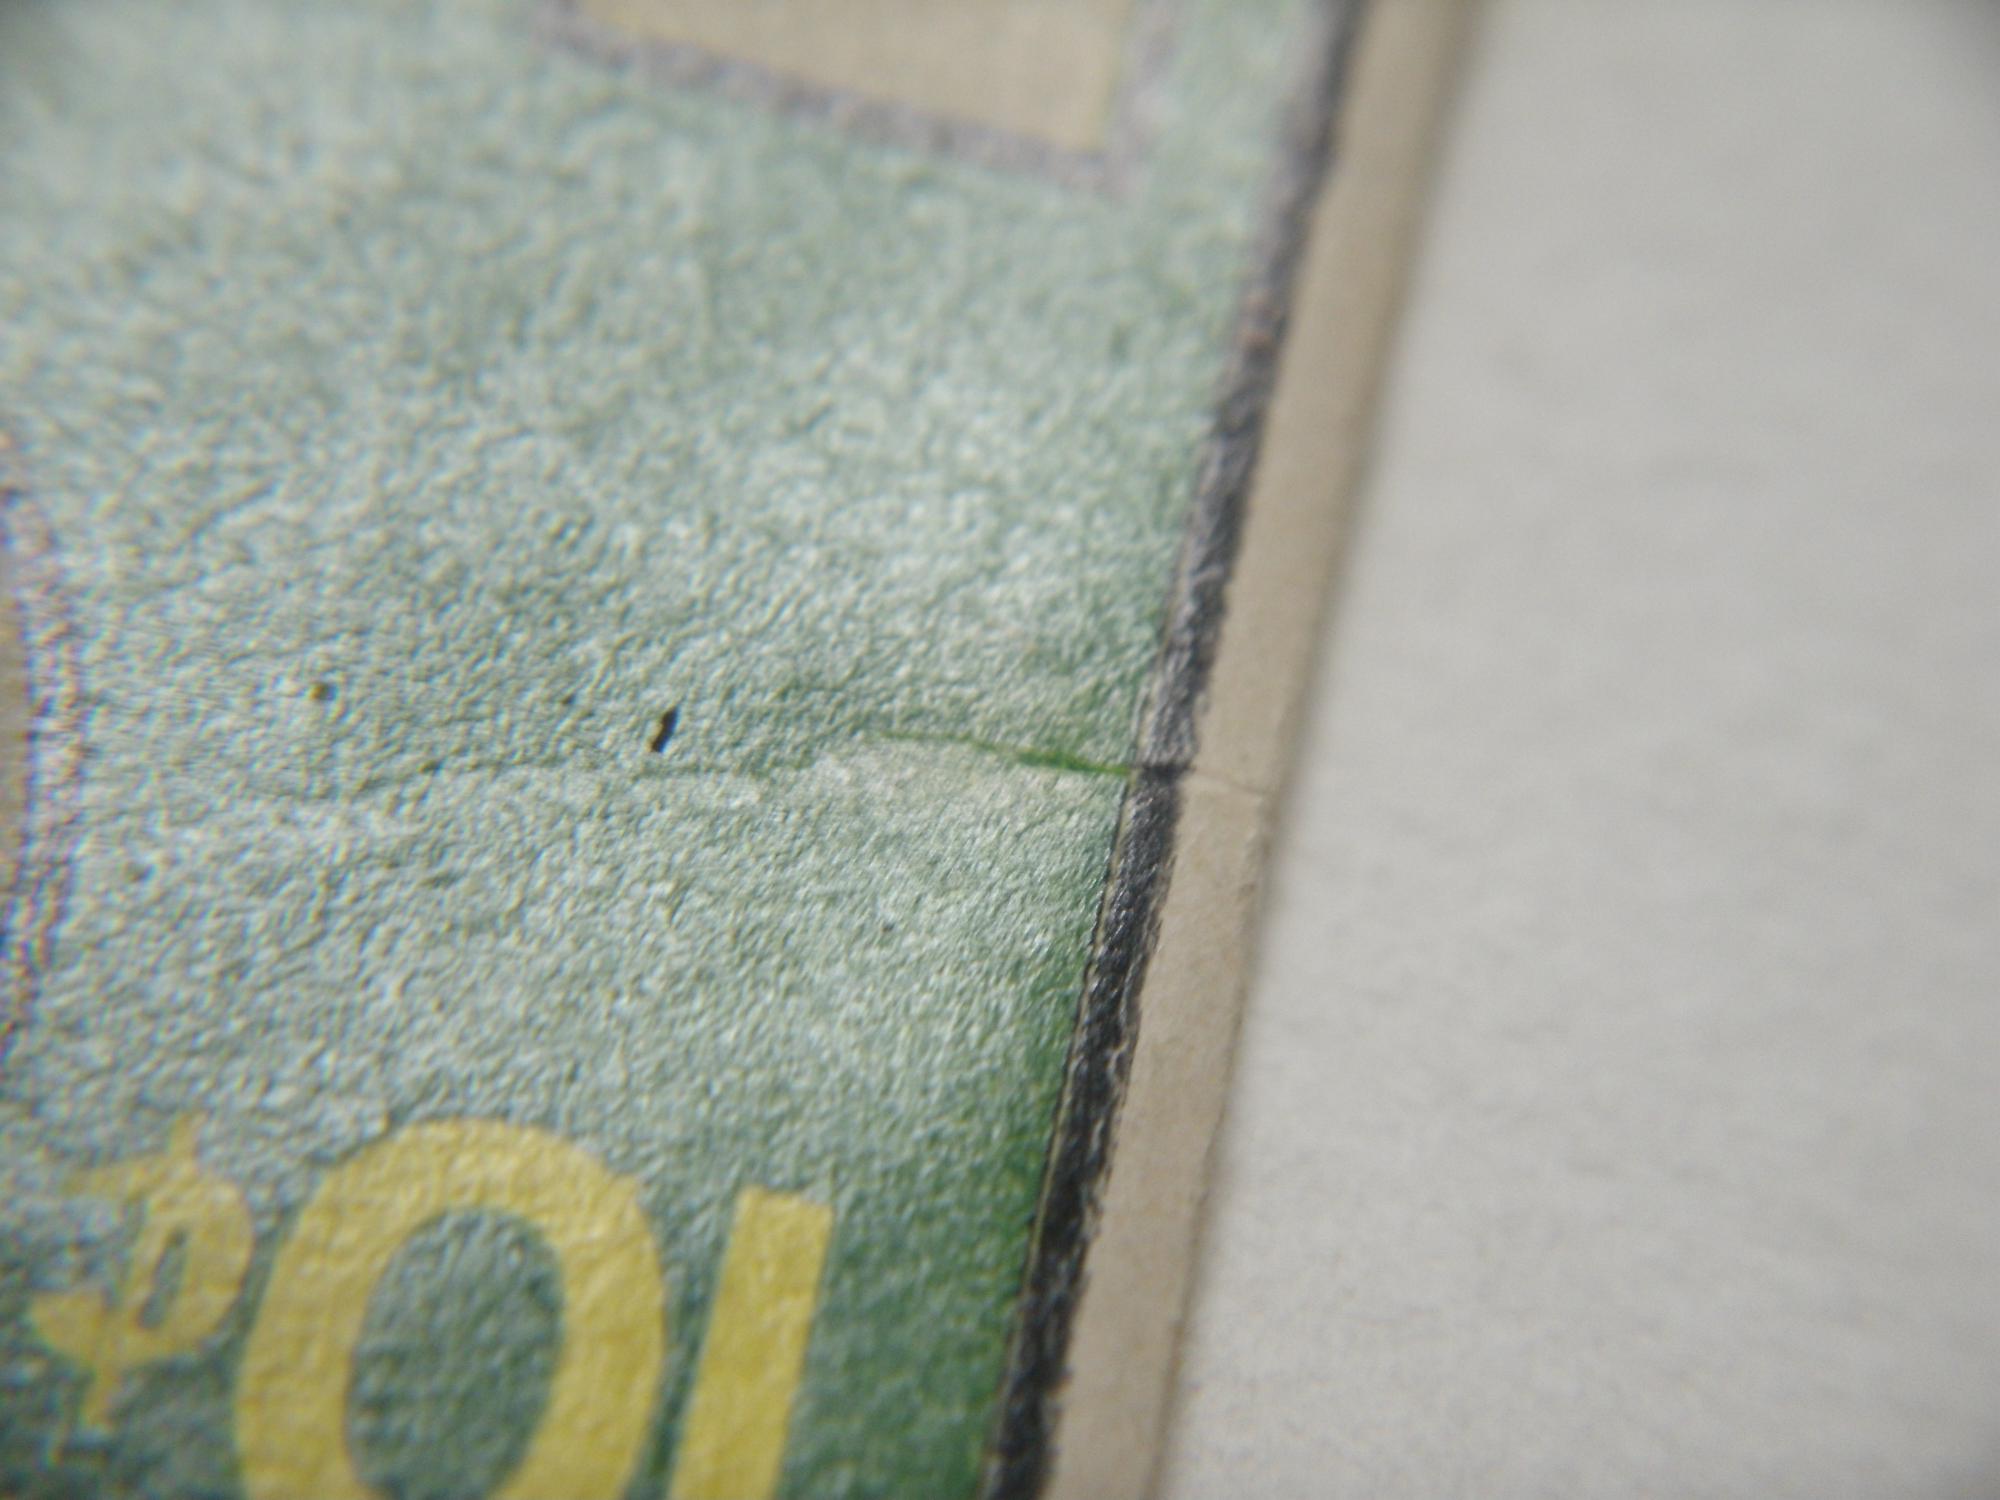
The green is most likely water-color, evident by the feathering of the color into the fibers of the book (appearing as a soft light yellow/green color) – in effect staining the edges of the crease. Depending on how heavy the application was, this repair might be visible from the inside covers – but not always.
If a repair such as this were undetected by the buyer, the buyer could have spent upwards of $6500 for what might appear to be a fine/vf copy of Showcase 22 (GPA 7.0 copy). When sent in for grading, this color touch would be noticed and the book assigned a restored label – the value of this book for this minor color-touch to the cover would be (at best) around $3300 (GPA SA 7.0 copy). A $3200 loss if not detected before submitting.
I would suggest that 90% or more of all restoration can be uncovered with one of three essential items – a UV blacklight, a flashlight and a magnifying glass (or loupe). Knowing what and where to look is also important, more next time.

Tracey, are all types of restoration detectable or are there any that are invisible even to a pro like yourself? Could “hickies” and other printing flaws ever be mistaken for restoration? Very nice write up.
Of interest… Action #1 soon to be auctioned off on eBay:
http://cc.ebay.com/action-comics/
Looking forward to your continuing column Tracey! Great post!
Hey Trace, welcome aboard and great post!
I always hold a book up into a window during the day, for some reason it works best from the inside of the book but if the its sunny outside I can spot most color touches.
I’m sure this is good only for amateur hack jobs but it’s something I’ve always done for some reason.
thanks for this – I find it hard to spot color touch and still can’t see where it’s been applied on books that came back as restored from CGC! I often hear that a blacklight will help, but what exactly – a bulb, a lamp, a flashlight? Can you explain what these are and how to use them, because it’s not that obvious for a beginner. Thanks again!
Simon,
I’ll show how to use a blacklight in future installments – stay tuned! Until then, it doesn’t really matter what you use as a source (I use a portable flashlight at shows) almost all color-touch and restoration glows like a christmas tree!
Trace
http://www.eclipsepaper.com
Walter
For the benefit of everyone, I’ll post my response here – natural sunlight is a great tool for detecting most forms of restoration! As I wrote in my e-book on Restoration Detection:
Daylight is the only source of lighting that contains the entire light spectrum, therefore, any color-touch done under incandescent or fluorescent lighting will show when viewed in daylight. The more daylight the restorer uses in their painting environment the better their match will be.
It works on professional jobs as well as amateur ones and even through slabs!
Trace
http://www.eclipsepaper.com
Charlie
Yes, sometimes, maybe – is probably the best answer I can give you at the moment. Depending on what is considered restored – all types of restoration are (or should be) detectable (especially from a museum perspective). Mistakes get made though (even by the grading companies) – especially the smaller, less obvious types or alteration (note, I didn`t say restoration) such as trimming and cover cleaning. There can be false positives in any test but for the most part I`ve never seen anything that was invisible when studied closely enough or with the proper tools.
Trace
http://www.eclipsepaper.com
Tracey
You specifically mentioned a UV light for detecting restoration. Is there a best wavelength UV light you recommend?
I have a few rock collecting ones with different wavelength bulbs.
Jim
It’s been awhile since I researched the different types (A, B, C and ), but I’ve always only used uvA blacklight. Each type refers to a different wavelength (a=315-400nm, b=280-315nm, c=100 to 280nm) but everything you need to see can be seen under uvA, so there is no need to go to B bulbs. Also, B is more dangerous to us humans than A, although caution must be used to avoid unnecessary exposures to eyes and skin no matter the uv being used. It’s a big subject, probably larger than I could ever hope to explain in this forum, but thanks for the question.
Trace
http://www.eclipsepaper.com
hi tracey … anyway i can ask advice without being broadcasted?
4.5